How to Build a Dinosaur part IV
Links to the other posts in this series:
Part I
Part II
Part III
Part V
Part VI
Okay, so I had to make some claws and teeth. I'd thought about this from the beginning and decided I would make them from polymer clay (Fimo was the brand I used), a material I'd never worked with before.
I had all the measurements at my disposal, thanks to The Dinosauria.
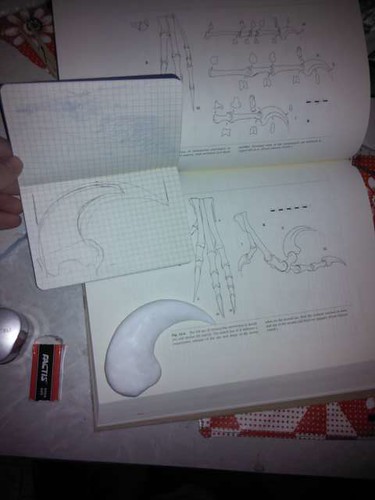
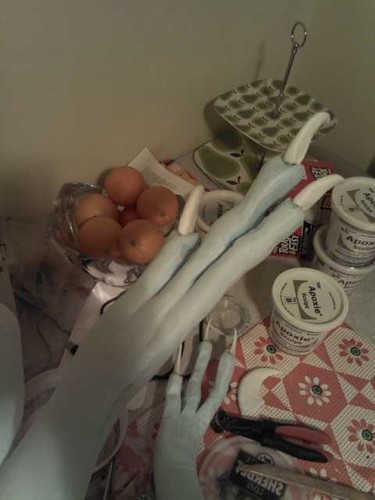
I built the claws around wooden skewers (not really visible here) so I could punch them into the soft foam of the Deino, then hold them in place with epoxy clay, another new material for me. The brands of epoxy clay I used was called Apoxie Sculpt, which I ordered online.
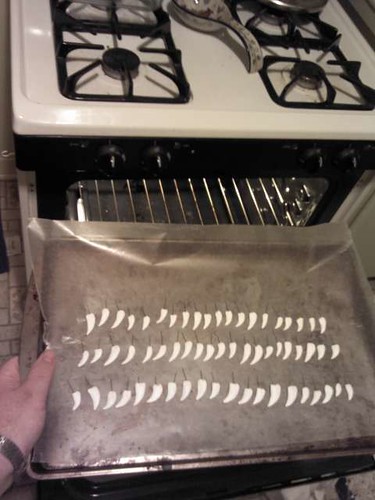
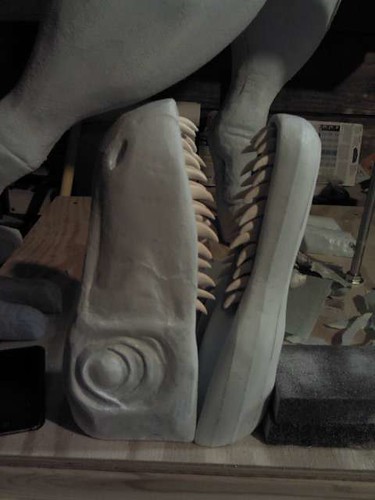
For the teeth, I used sewing pins instead of skewers.

If you're not familiar with polymer clay, it's a kind of malleable plastic that's as shapeable as clay, but only needs to be baked in the oven to harden.
I created a bead of epoxy clay--a self-hardening, extremely adhesive two-part clay that doesn't need to be baked--for the "gums" on the top and bottom jaw. Before it was dry I stuck the polymer clay teeth in, and the pins held them in place until the epoxy clay hardened. This had the added bonus of naturally deforming the epoxy clay around the pressed-in teeth to resemble gums perfectly, and therefore needed little shaping on my part.
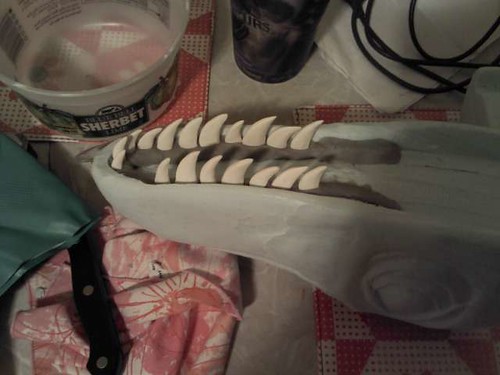
I have to say, as soon as I saw the jaws with teeth in them I was very pleased!
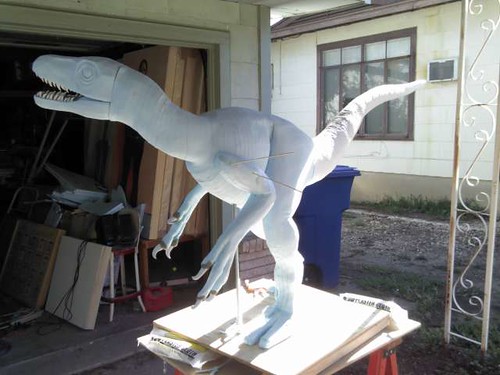
All "pinned" together with skewers, with hand claws and teeth:
Part V: Eyes and scales! (And plaster?)
Comments
Post a Comment